You know how when you were a kid, and you were playing with Play-Doh, it took pretty much every ounce of willpower you had not to swirl all the colors together and make a beautiful ball of bright colors? And pretty much the only reason you didn’t do it is because you knew your Mom wouldn’t buy you any new Play-Doh and by swirling the colors together, you were essentially making the Play-Doh totally useless for any future projects?
For all of you grown-ups who wanted to swirl your Play-Doh together as a kid, these marble cookies are for you.

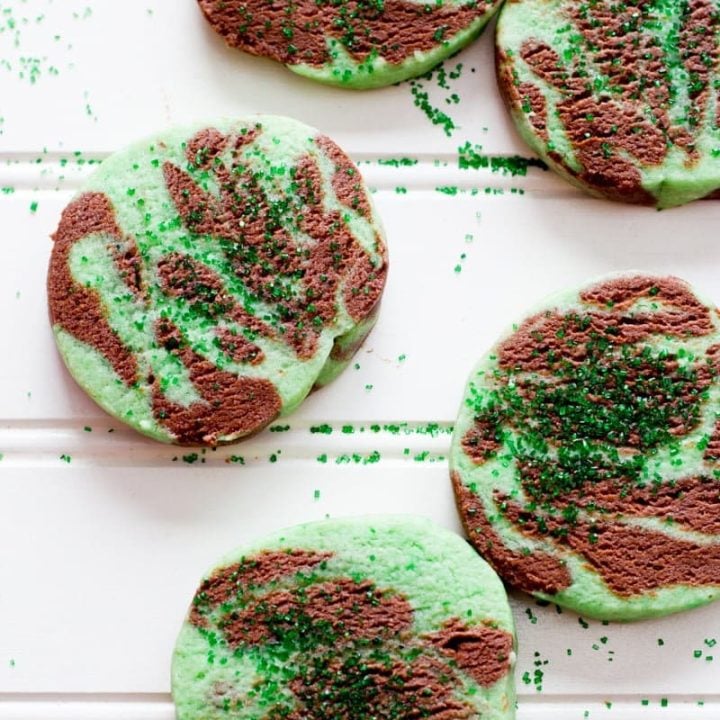
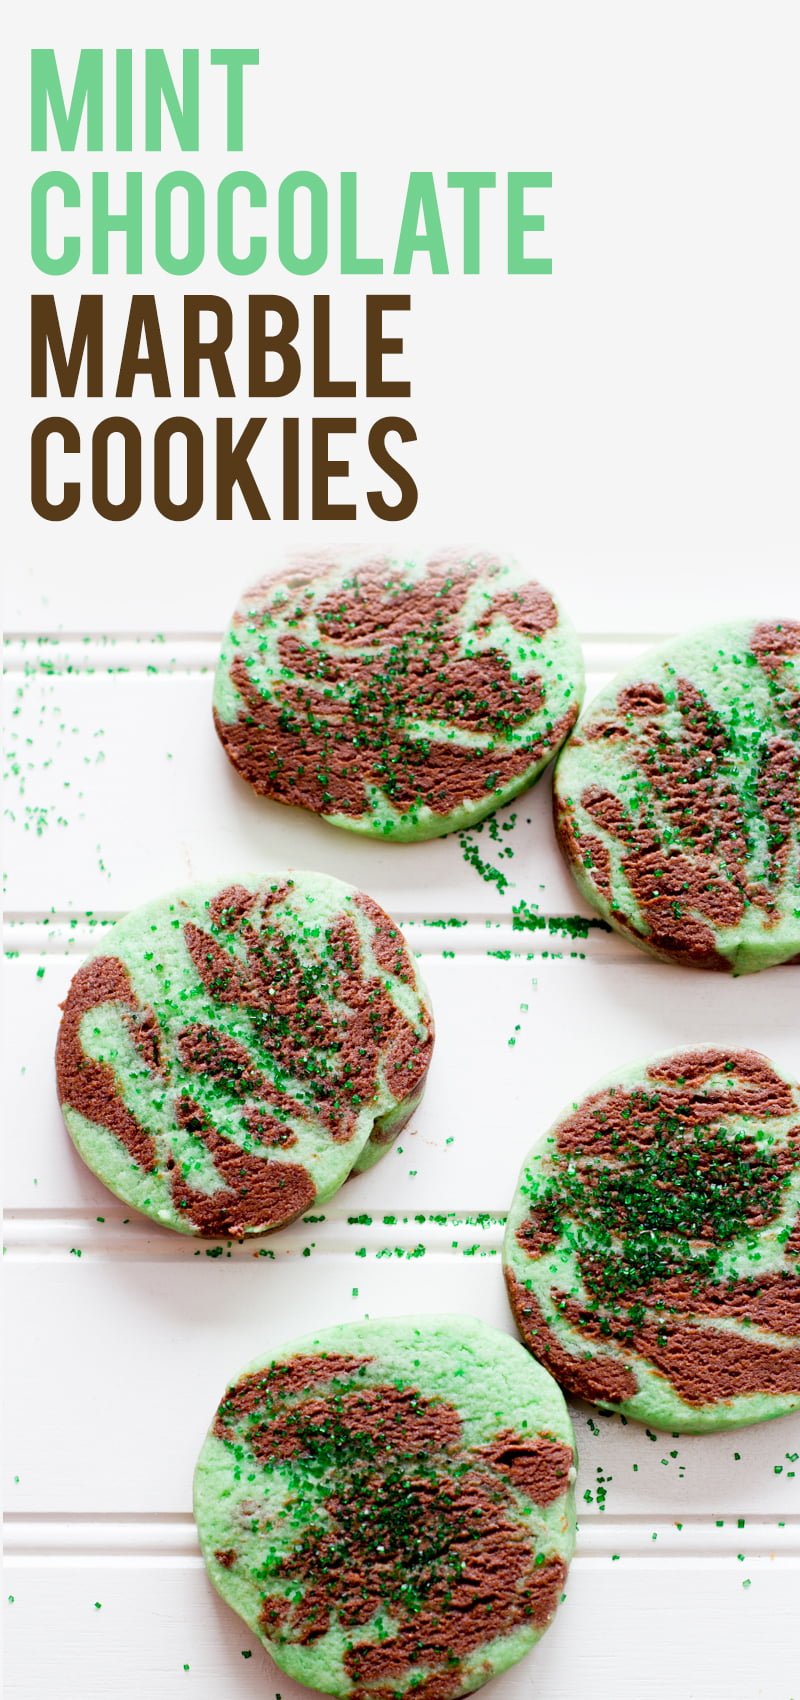
I think this cookie would be such a fun kitchen “art” project for kids and adults alike. I love the mixture of green and brown (for mint and chocolate, obviously), but you could really mix up whatever colors make you happy. Just divide up the dough, color, and swirl until you’re happy with the results.

I think the best way to get optimal marbleization (is that a word?) in the final cookie is to roll the dough into a log, freeze, and then to slice them, although, admittedly, that isn’t nearly as fun as using cookie cutters. You can definitely roll them out and go at them with your favorite gingerbread man, but they won’t be quite as fantastically marbled.

As far as the taste of these marble cookies, they are little more than a flavored version of my sugar cookies. They’re soft, tender, fluffy and way delicious. The addition of cocoa powder to the chocolate dough really helps transform the cookies from just colored sugar cookies to a whole new idea. As you can see, I just dusted the cookies with colored sugar, so you could still see the marbling, but I think this cookie would also be an awesome candidate for dipping in frosting. I think if you dipped these cookies half in a bright, white frosting, it’d be such a nice juxtaposition to the (sorta crazy) colored swirls.

Mint-Chocolate Marble Cookies
These twirly, swirly marbled cookies are a fun (and tasty) kitchen art project for kids and adults alike.
Ingredients
- 3/4 cups butter (1 1/2 sticks), softened
- 1 cup granulated sugar
- 2 eggs
- 1/2 teaspoon vanilla extract
- 1/2 teaspoon peppermint extract
- 3 cups all purpose flour, divided
- 1 teaspoon baking powder
- 1/2 teaspoon salt
- 6-8 drops green food coloring
- 1/3 cup cocoa powder
- Sprinkles for decorating, optional
Instructions
- In the bowl of a mixer fitted with the paddle attachment, cream together the butter and sugar until light and fluffy, scraping the sides as necessary. Add in the eggs, vanilla extract, and peppermint extract.
- In a medium-sized bowl, whisk together 2 1/2 cups of flour, baking powder, and salt.
- Add the dry ingredients to the wet in two additions—mixing completely after each.
- Divide the dough in half. Place half of the dough back in the mixer, and add the remaining flour and mix to combine. Add in the green food coloring and mix until evenly distributed. Remove green dough from mixer.
- Place the second half of the dough in the mixer, add in the cocoa powder and mix to combine.
- Separate each color of dough into 3-4 pieces, and then mash and swirl the pieces together to make a marbled texture. Form the dough into two 2-inch wide logs. Wrap the logs in plastic wrap, and place in freezer for 15-20 minutes, or until solid enough to slice without squishing.
- Preheat oven to 375°.
- Remove the dough from the freezer, with a sharp knife, slice through the dough, making 1/4" rounds. Place the rounds on an ungreased baking sheet, decorate with sprinkles, if desired, and bake in preheated oven for 7-8 minutes.
- Let cookies cool for 1-2 minutes on the cookie sheet, then transfer to a cooling rack to finish cooling.
Nutrition Information:
Yield: 24 Serving Size: 1 cookieAmount Per Serving: Calories: 152Total Fat: 6gSaturated Fat: 4gTrans Fat: 0gUnsaturated Fat: 2gCholesterol: 31mgSodium: 116mgCarbohydrates: 21gFiber: 1gSugar: 8gProtein: 2g
At Wholefully, we believe that good nutrition is about much more than just the numbers on the nutrition facts panel. Please use the above information as only a small part of what helps you decide what foods are nourishing for you.


